- OpenSCAD 72.8%
- C++ 27.2%
|
|
||
|---|---|---|
| 3dparts | ||
| arduino | ||
| electronic | ||
| img | ||
| .gitignore | ||
| LICENSE | ||
| README.rst | ||
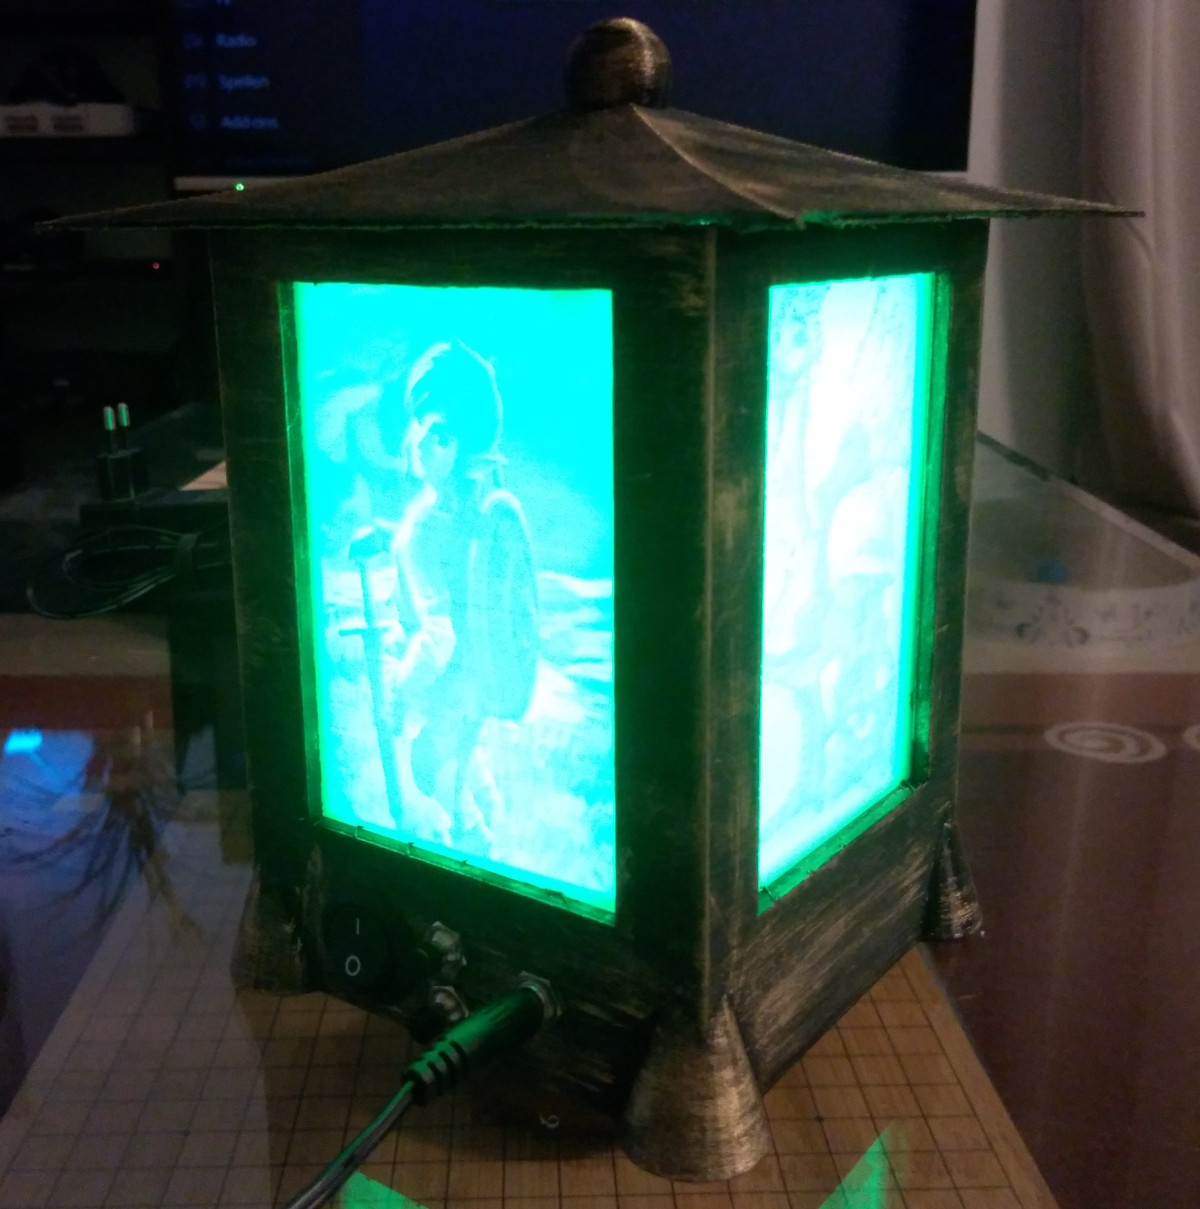
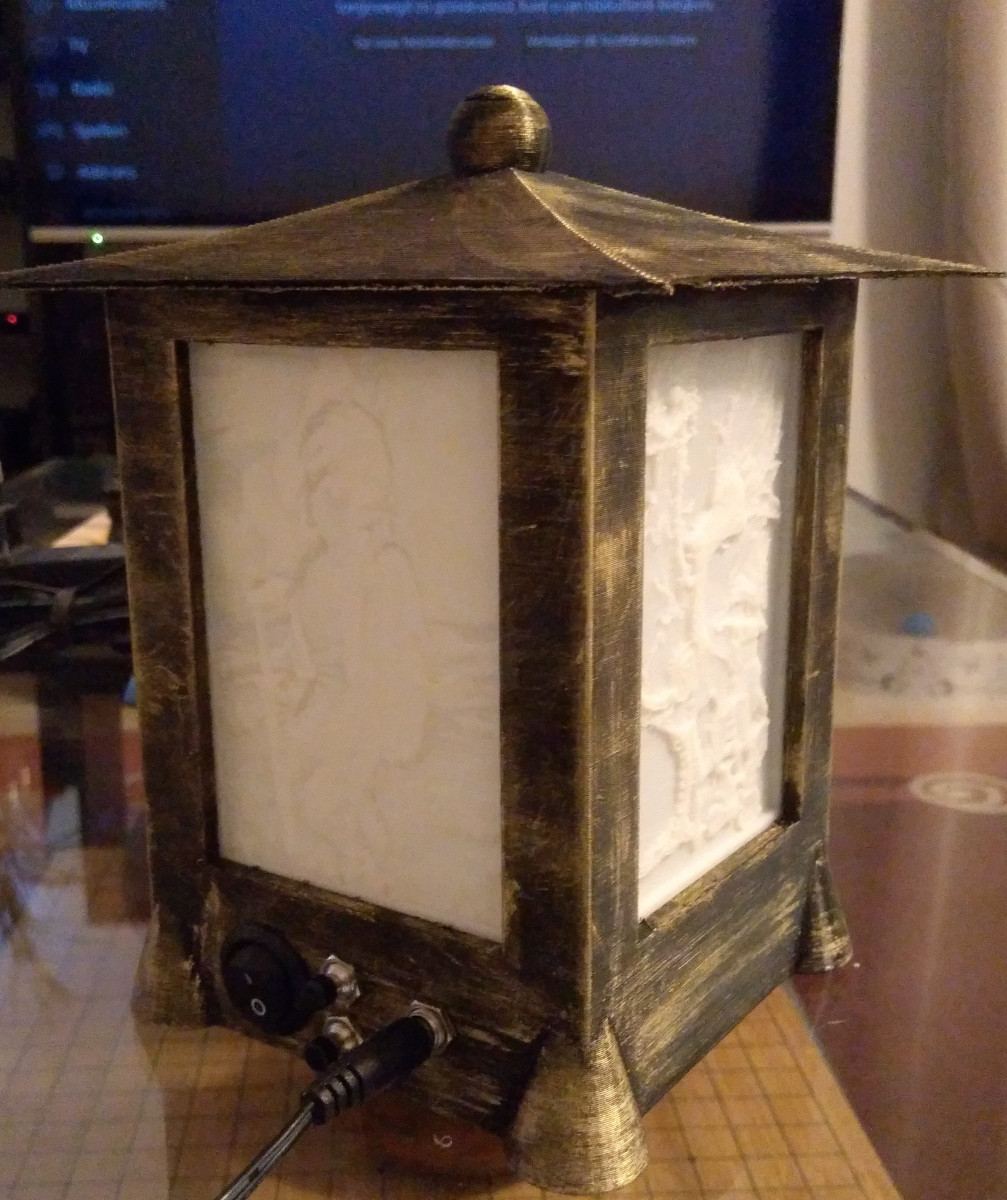
Lithophane Lantern


These files are under EUPL-1.2 license. You can use them as is, without any guarantee.
The 100Ω resistor must be adapted in function of your WS2812 strip and your level shifter board.
Each lithophane panel is 108x78mm including 4mm border and 3mm thickness. Do not forget to create positive images, not negative ones. You can use 3dp.rocks service to create your own lithophane plates. The lantern can be printed with 5% infill but lithophane plates must be 100% infill and vertically printed. You can print several lithophanes at the same time with border on bed to avoid grip issues.
You need :
1 WS2812 strip (cut four strips of three leds for each lantern);
1 level shifter (sorry, I lost the link...);
2 resistors of 1kΩ;
1 resistor of 100Ω (must be changed in function of strip and level shifter);
1 capacitor of 1000µF;
Install ESP8266 boards in your Arduino software and WS2812FX library.